Configuration steps on AzureAD and Meraki Dashboards
This guide seems redundant, but there are some quirks that are not accounted for in the official Meraki documentation. I’ve included details to help avoid confusion during the configuration process
-
Follow the steps in Meraki’s AnyConnect Azure AD SAML Configuration document. and stop at Step 7.
-
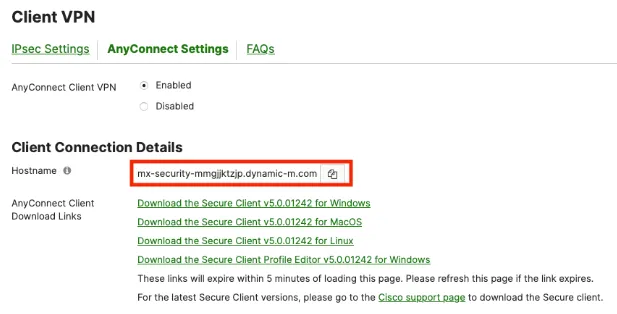
Before you start Step 7, navigate to your Meraki Dashboard and navigate to the Security & SD-WAN > Configure> Client VPN page.
-
Click on
AnyConnect Settingsand selectEnabled. -
Copy your hostname to your clipboard under the
Client Connection Detailspage:
- Navigate back to Step 7 of the AnyConnect Azure AD SAML Configuration document. and follow the formatting instructions, using your hostname.
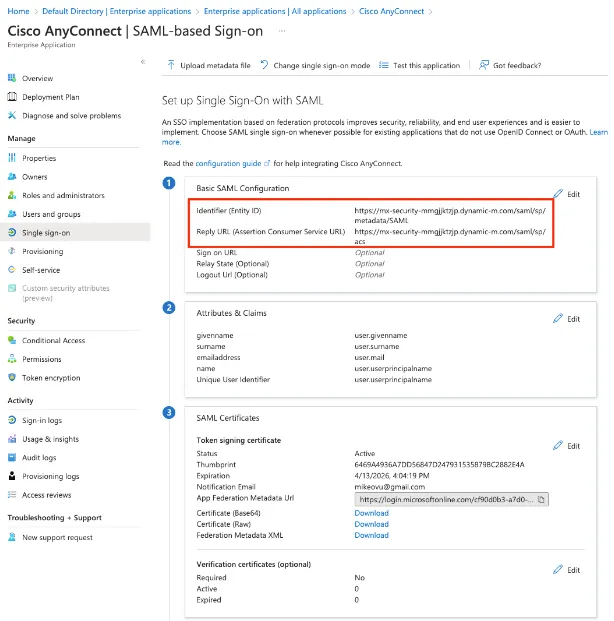
mx-security-mmgjjktzjp.dynamic-m.com/saml/sp/metadata/SAML
mx-security-mmgjjktzjp.dynamic-m.com/saml/sp/acs
- When you get to Step 9 of the document, make sure you add the hostname with
https://in front of it in theAnyConnect Server URL field:

-
Navigate back to the AzureAD portal and click on the
Single Sign-on menu. -
Check the
Basic SAML Configurationbox to ensure you’ve entered the correct hostname in theIdentifier (Entity ID)andReply URL (Assertion Consumer Service URL)fields:
- Give AzureAD at least 30 minutes to accept the configuration. When I tested this, authentication kept failing within the first 30 minutes. After 30 minutes, I was able to authenticate without changing any settings.
Test Client VPN on your End Device
If you did not set up an AnyConnect Profile for your end devices yet, follow the subsequent steps:
-
Open the
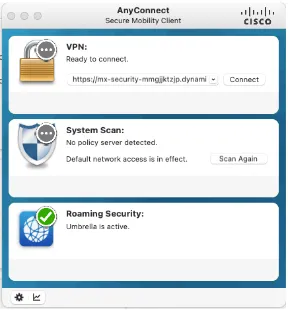
AnyConnect Secure Mobility Clienton your machine: -
Copy and paste the
AnyConnect Server URL into theVPNfield.
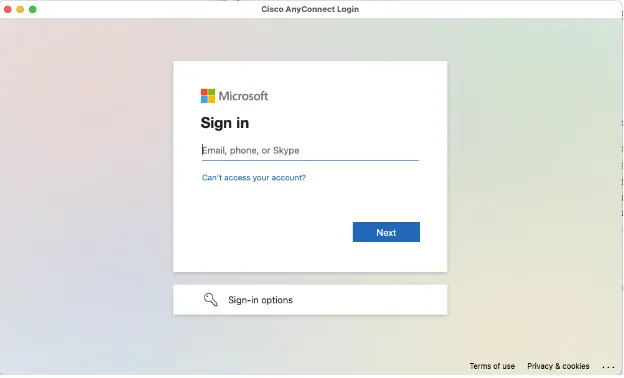
- When you press Connect, a Microsoft popup window will appear and prompt you to login using your credentials.